Welcome to the beginner's guide on audio.tips – your guide through the often overwhelming world of music production, sound engineering and audio editing. If you're just starting out and don't know what tools you need, what a DAW actually is and want to know what an equalizer is then you've come to the right place.
What you really need
.. and what you don't neeed. When you first start browsing audio forums or watching YouTube videos it often seems like you need an entire recording studio with countless devices and knobs. But the truth is: you need surprisingly little to get started. The most important thing is to start and experiment—with tools that work without overwhelming you.
Essential tools to get started:
- A reasonably up-to-date laptop or desktop computer
- A DAW (Digital Audio Workstation)
- An audio interface (external sound card)
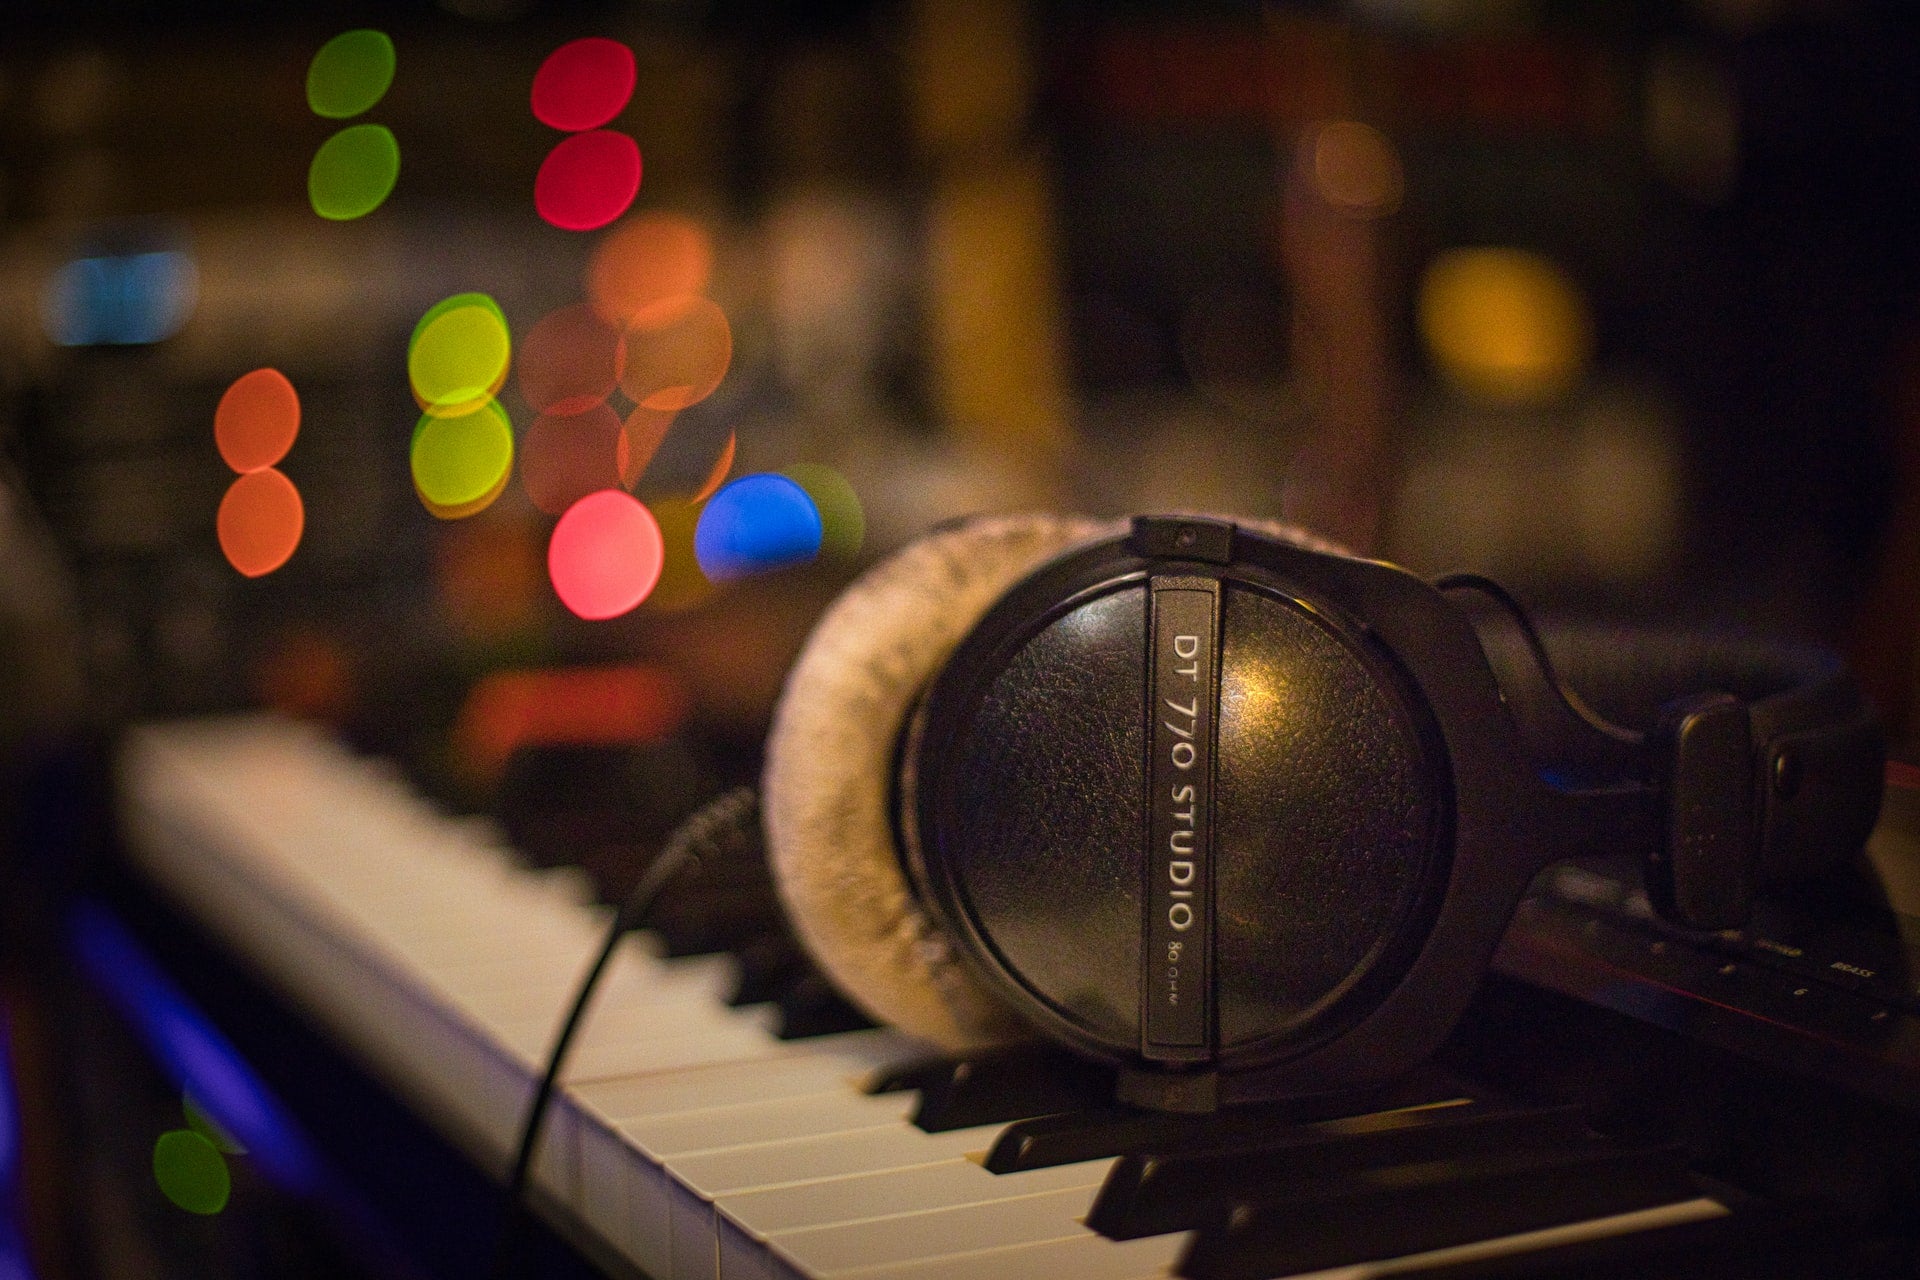
- A pair of closed studio headphones
Optional but helpful: A simple microphone (more on that in a moment), a small MIDI keyboard, studio speakers and a bit of patience. Expensive plugins, high-end monitors or acoustic treatment aren't necessary (at least not yet).
What is a DAW?
A DAW is essentially your workspace, structured like a digital recording studio in software form. Here, you record, cut, arrange, edit and mix your music, voice or sound effects. You can import audio, record instruments, use effects and complete entire songs—all within a single application.
Here is a brief overview of popular DAWs for beginners:
- FL Studio* – Very popular with beatmakers
- Ableton Live* – Ideal for electronic music & live performance
- Logic Pro X – Only for macOS
- Studio One* – Clear structure, fast learning curve and our favorite
- Pro Tools* – International industry standard for recording studios
Most DAWs are also available in affordable entry-level versions – it's worth trying out!
What is an audio interface?
An audio interface is the link between your voice or instrument and your DAW. It converts analog signals (e.g. from a microphone) into digital signals so your computer can understand and process them. At the same time, it ensures better sound during playback and works significantly better than your motherboard's built-in sound card.
Three typical entry-level interfaces:
Connections & functions of an audio interface simply explained:
- XLR: Connection for microphones
- Line-In/Out: For instruments and speakers
- Gain: Volume control for the input
- Direct Monitoring: You hear yourself without any time delay
Microphones & Recordings
Do you want to record your voice or acoustic instruments? Then you'll need a microphone. Choose one that suits your needs.
Different microphone types simply explained:
- USB microphones: Good connection and perfect for live streams as well as simple voice recordings, but not suitable for professional recording studios
- Dynamic microphones: Robust, less sensitive – good for louder sources (e.g. vocals, guitar amplifiers)
- Condenser microphones: Higher resolution, more sensitive – ideal for detailed vocals or acoustic guitar
Also important are microphone positioning, how you hold the microphone, how far away you are and whether the room reverberates – these factors can greatly influence the quality of your recordings.
What is good sound?
A good sound is – well – relative and subjective but you can learn to listen better and more analytically. And that's where reference tracks come into play.
Why reference tracks are so helpful
Comparing your own productions with those of professional producers will give you a good feel for volume, balance, depth and dynamics. Choose songs you know and listen to them repeatedly, ideally in the same listening environment as your own mixes and compare them using an A/B tool.
Exercises for your hearing
- Play different genres and pay attention to the dynamics and typical elements
- Listen and pay attention to bass, mids, treble and stereo width
- Do blind A/B testing: What sounds better – and why?
The more often you do this, the faster your hearing and understanding of good sound will develop.
Mixing Basics
Mixing doesn't have to be complicated—quite the opposite. Simply put, it's about positioning your sounds so they don't interfere with each other and all frequencies are appropriately emphasized. You'll encounter three tools repeatedly:
Equalizer (EQ)
- With an EQ you change the frequency distribution of a signal. You can boost bass, cut distracting mid-range or clarify highs. For starters, less is more.
Compressor
- A compressor smooths out volume fluctuations. It ensures that quiet passages remain audible and loud passages don't clip. Used correctly it brings more control and presence to the mix.
Reverb
- Reverb adds depth to your recordings and makes them seem more realistic. But too much reverb can also make everything muddy. Start with small rooms and listen to different presets of the stock plug-ins. Often, just a touch is enough to make a voice sound more alive.
What does mastering mean?
Mastering is the final touch to your mix—both technically and sonically. It ensures that your track or film sounds good on different systems and that the final loudness is correct on all possible devices. However, it's not a must for beginners.
Why? Because a solid mix is half the battle. Professional song mastering is something you learn later in your career and requires years of experience. Furthermore, professional outboard mastering, appropriate monitoring and a suitable recording room are quite expensive. We'll cover this in more detail in a later guide.
Common Mistakes
... that (almost) everyone makes are:
- Recordings that are too loud (clipping)
- Too many plugins at once
- Ignore bad room acoustics
- Mix only on headphones
- Wanting to do everything at the same time
Another factor that shouldn't be underestimated is the impatience of most beginners. Many expect studio magic after just a short time but routine only develops through persistence.
Develop a basic understanding of music
Don't worry—you don't need a degree in music theory but you should know these simple basics to be able to develop song ideas:
- Tempo: Speed of the song (in BPM)
- Time signature: Usually 4/4 – four beats per bar
- Key: Indicates which notes fit together
Feedback & Progress
Working alone in a quiet room is fine—but at some point you should seek out solid feedback. Exchange is worth its weight in gold, especially in the beginning.
So, network. Online forums, local meetups, WhatsApp communities or our own Discord server – all of these help you stay on track and improve.
By subscribing to our newsletter, you'll gain access to the international audio.tips Discord server—including feedback sessions, mini-challenges and regular input.
Recommendations for beginners
If you've read this far: Great. And honestly, things are just getting started.
Next, read our other guides on:
- Audio Engineering
- Studio Equipment
- Music Production In-Depth
Or visit our Learn Online section where we show you tutorials on plugins, equipment and music production—always honest, always practical.

Coachings & Courses
Mastering your craft starts with the right education. Explore leading institutions offering professional training in music production and audio engineering. Browse our list of recommended courses and mentoring programs to find the perfect environment for your skill development.